Count me blessed. Do you know that saying, "Do something you love and you'll never work a day in your life." My life may still be in the making, but this summer I did not work and I was lucky enough to have a job.
Ok, that may have been a little white lie. I did some work. All interns have a certain quota of leg work they must complete before moving on to something real. Just as college students are not quite "real people" yet, neither are interns "real employees." There is a certain breaking in period where the office tries you on and takes you for a test drive. Lucky for me, I did that last year.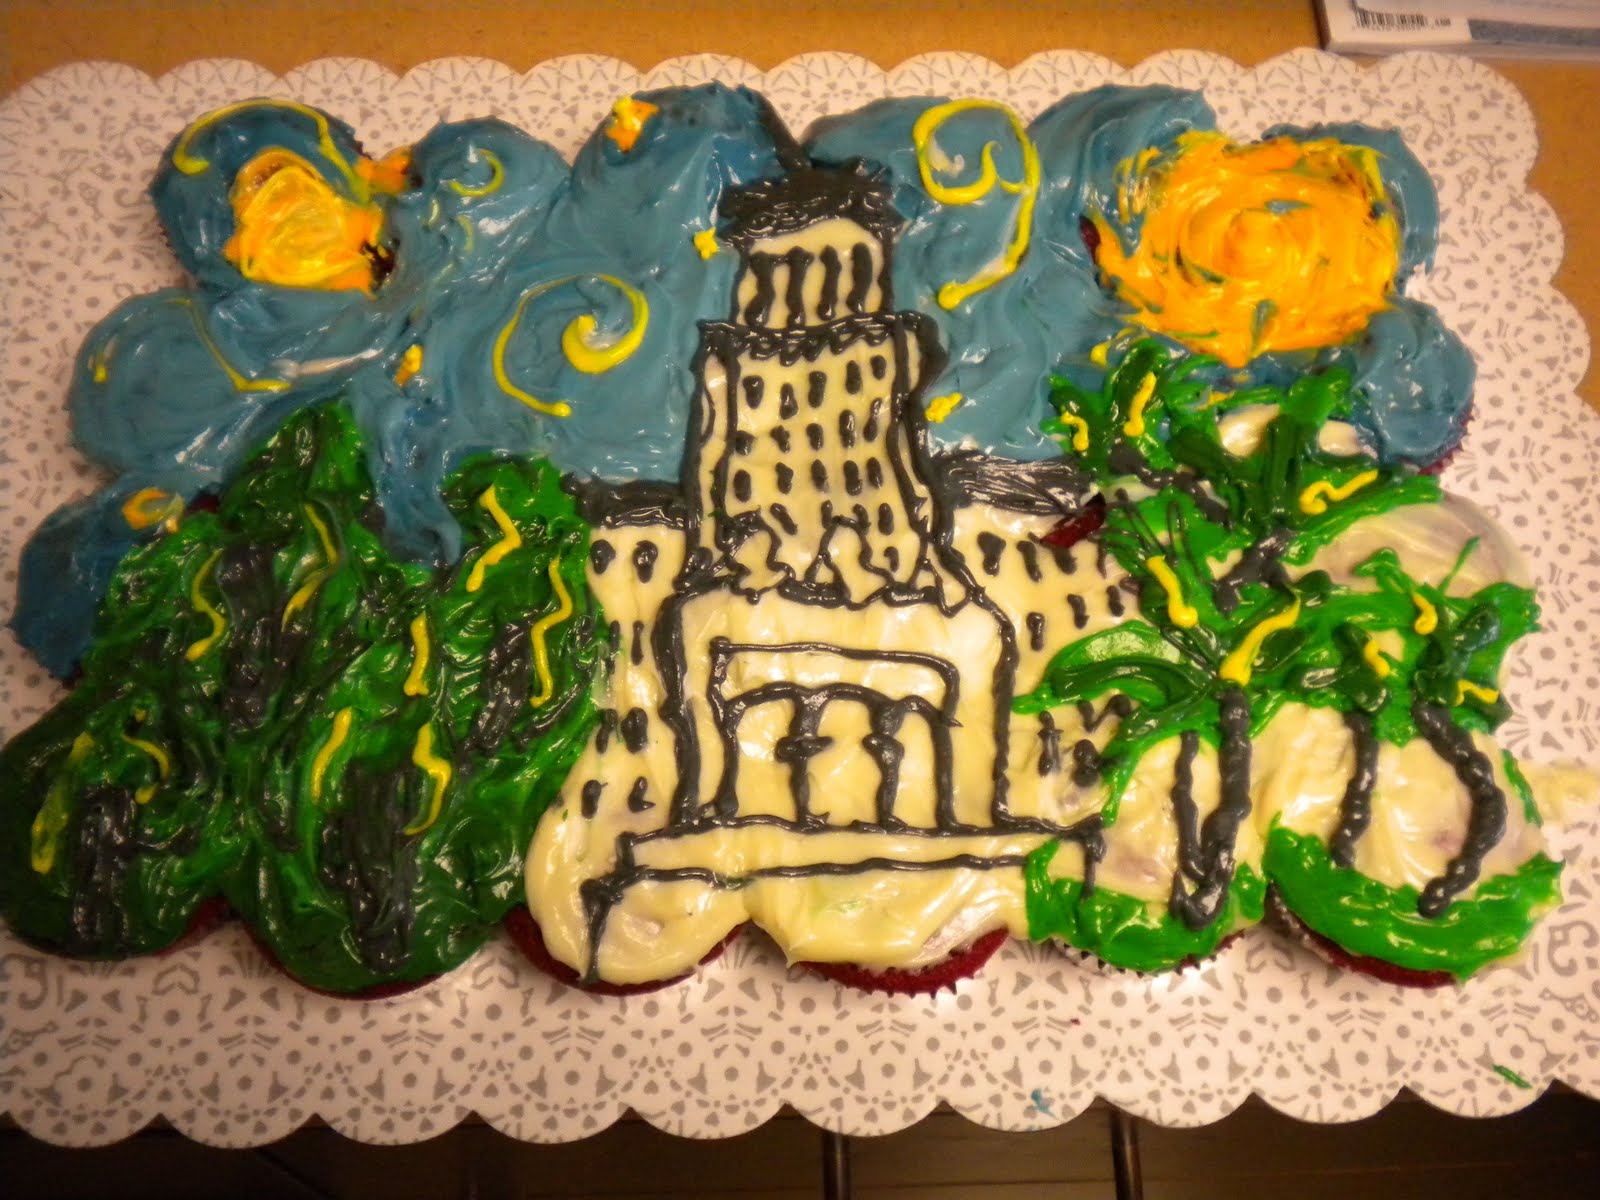 (This is the cupcake cake I made for the office last year... It is City Hall a la Starry Nights)
 I work for my councilman Tom LaBonge, Los Angeles City District 4, and I couldn't be happier. This isn't some cheap ploy to kiss @$$ at work. Need proof? I'm done for the summer. In about a week, I will be heading back to New York. However this past summer, I got to sit in on the controversial Gourmet Food Truck issue (FYI--LaBonge does NOT want to ban food trucks) public hearings, recycling water ordinances, and even spend half a day getting first hand experience with a fire brigade (the LAPD helicopter training is Monday). Disclaimer: City District 4 works very... VERY hard. And if I can give advice to any and all city folk out there, try volunteering for your councilmember. Learn how your city works and you will find yourself amazed.
 Well, back to the point of this whole thing... FOOD. To show my gratitude for an amazing summer with the office, I made a cake. It was meant to look like the City Seal of Los Angeles. Unfortunately, the decorations were a little too large to all fit on the top, so the arms of Mexico, Spain, and the American flag were all placed around the sides. I used fondant as the red and blue of the seal and chocolate to design all the symbols. The olives, grapes, and oranges were made of marzipan (which is surprisingly fun to use!).
If you want to make chocolate designs (sometimes two explanations is better than one!), melt some chocolate (easiest done with "chocolate wafers" aka chocolate melting wafers aka cooking and baking chocolate....) in a plastic bag. All you need is about 20 seconds in the microwave. IF YOU CANNOT FIND melting wafers, the trick to melting normal chocolate chips is to add a little bit of milk (or water--but milk is tastier) while heating them up. Once the chocolate is melted, cut the tip of the plastic bag and using the plastic bag like a pen, draw the design you want onto a piece of wax paper. The design will come out the opposite of how you draw it. Put it in the fridge for a little bit and VOILA. You just designed your own chocolate piece!
If you ever want to use marzipan, just put a little food coloring (for whatever you are making) and mix it up. Marzipan is a sort of almond paste that is easy to mold. Then you can use cocoa to make it look dirty (fruit occasionally have dirt, you know?).
To make the Orange: I used orange food coloring. Then I kneaded the marzipan until it was mixed. Roll it into a ball the size of a walnut. Lightly press a grater against it to make the texture of an orange. The green is leftover bits of chocolate
 To make the Grapes: Use purple food coloring and mix into marzipan. Roll into various sized smaller balls and stick together to make a bunch of grapes.
 To make the Olives: Use green food coloring and mix into marzipan. Shape into olives. Make a hole with a toothpick on one side. Optional: sprinkle a little cocoa powder to create the illusion of dirty olives (as if they are just off the tree).
 Now this cake took a good amount of work, more than most people care to do. So learn from my experiences. My time preparing this cake has left me with a few pieces of advice.
Frost your cake when it is completely cooled.
If it's hot outside, beware of melting! (Make sure your frosting isn't too liquid-y. It should be a little thicker)
If you're attempting an elaborate cake, make sure you plan your decorations (and sizing) appropriately.And that's about it for now on cake advice. Summer is nearing its end. And like most endings, they're bittersweet. I have had to say good bye to most of my friends already, but knowing that my other home awaits--with the rest of my friends--makes the transition just a little sweeter. Speaking of collegiate friends, Alex went to go visit Laura in Seattle where they made this "food blog worthy" (yes, that was the facebook caption) sandwich. YUM YUM YUM. It's a PB&J sandwich like none other. So here's a BONUS RECIPE (college edition!):
-6 slices of bread
-peanut butter (to taste)
-Blueberry jam (to taste... type of jam is flexible, although I also recommend grape as well)
->Spread the peanut butter and jam onto each slice. Stack the slices of bread to create one giant sandwich. (or break it down into 3 small ones... your choice)
 Now that the college preview is over, it's back to the City of Angels for me. My home. My friends' home. And home to the gourmet food truck movement (thanks Koji! and that crappy taco truck that was my cafeteria on wheels for nine years of schooling). I'll be taking in as much as possible the next week. Remember: Live Well. Eat Well.